| |
Visitors: 88775

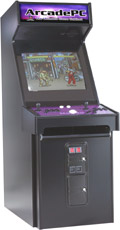
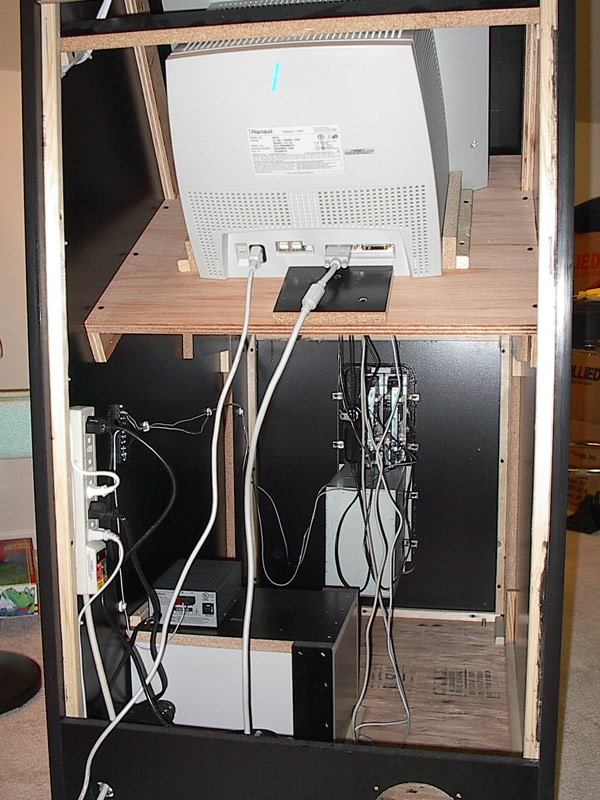
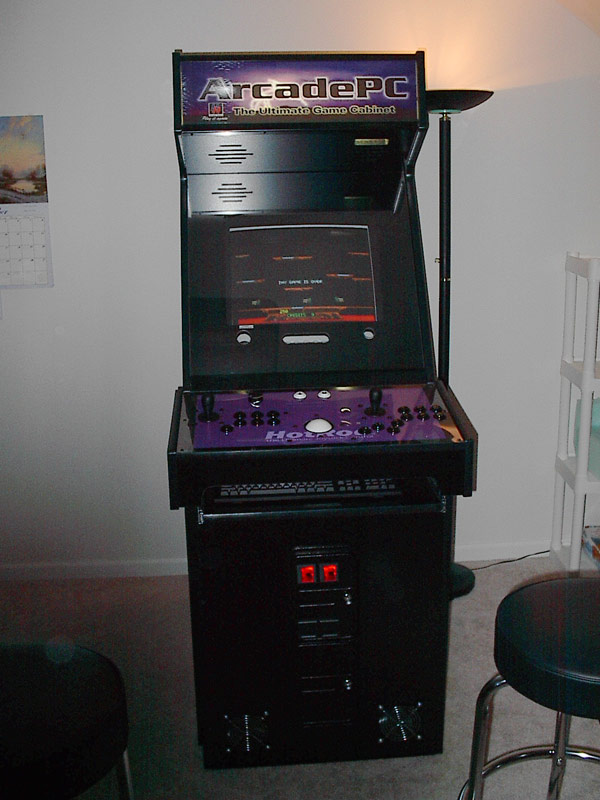
The ArcadePC does not need any modifications when it arrives, however, I decided to add a few. Today's new computers are running hotter and hotter. So the first thing I did was improving ventilation.
For starters, I needed a 115V AC to 12V DC converter. I
went to Radio Shack and bought one for $30, and also picked up a little power distribution
panel. 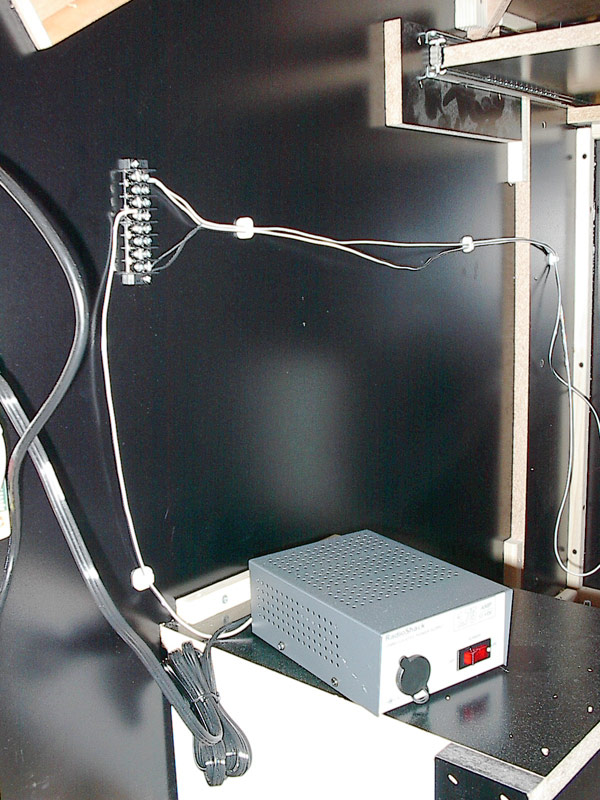
Next,
I needed 4 fans. 2 blowing in, 2 blowing out. The key here
is, larger fans are quieter. I bought the 120mm fans from Plycon.
I chose the quietest I could find. I went with Panaflo FB12G12L which
put out 68.9 CFM and run very quite at 30 dBA. I tested
one of the fans by connecting it to my 12V distribution panel, and
found that it was too powerful and too loud. So I hooked the 2 fans
up in series. The 2 fans now received 6 Volts instead of 12 Volts.
Perfect! They pushed out a good amount of air, and ran nearly silent.
Next, I had to cut the holes. I ordered a 5" hole saw,
and cut a hole in the back. Boy, am I glad I started in the
back! 5" was a tad too big. 4.5" is the proper choice.
A word to the wise: Don't buy cheap tools.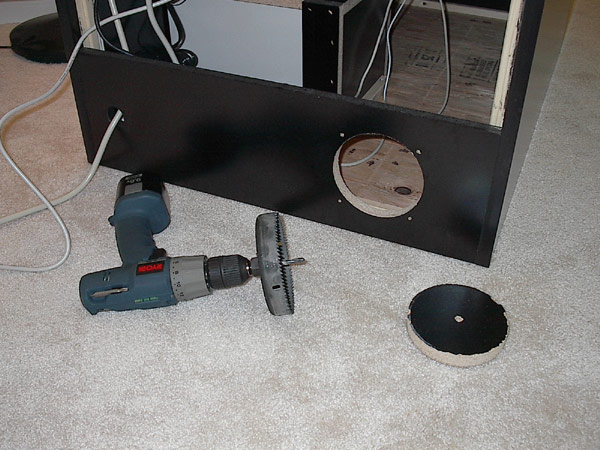
I
went to Home Depot, and bought a 4.5" hole saw, 3" bolt
and nuts, some washers, and a few rubber washers. (Rubber washers
are used to help silent the fans even more.)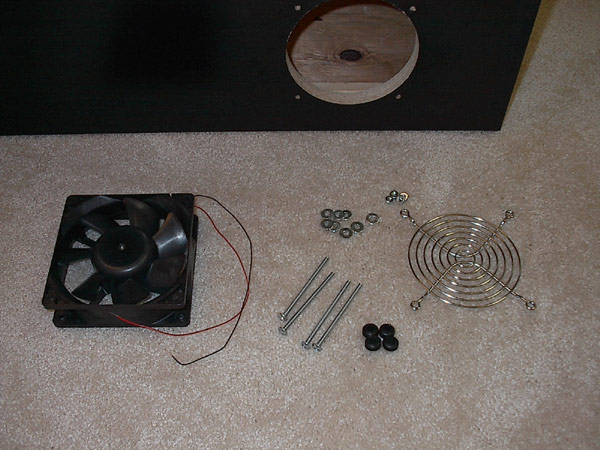
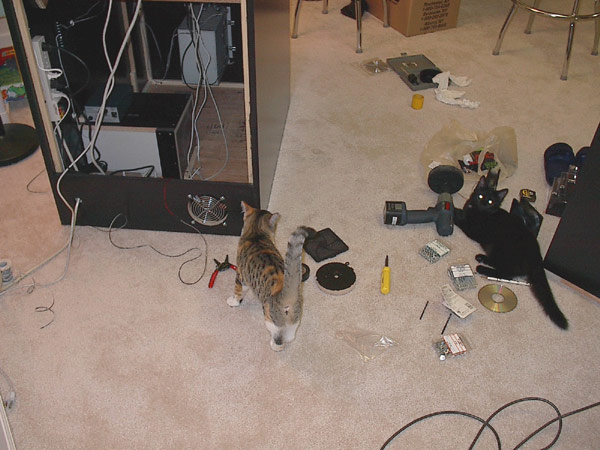 <---- Here the kittens are "helping."
Using the 120mm
grill as a template, I drilled holes in order for the 3"
bolts to slide through. Putting it all together looked like this:

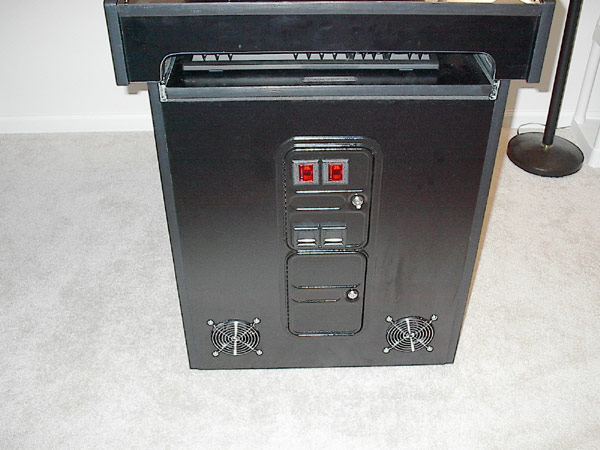
The
remaining 3 holes were cut using the 4.5" hole saw. I also
used some flat black paint, and painted the insides of the holes.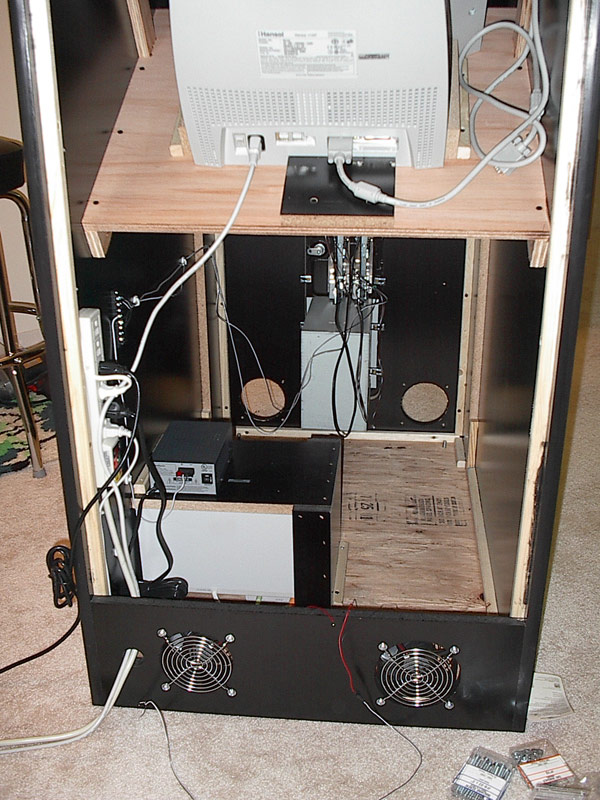
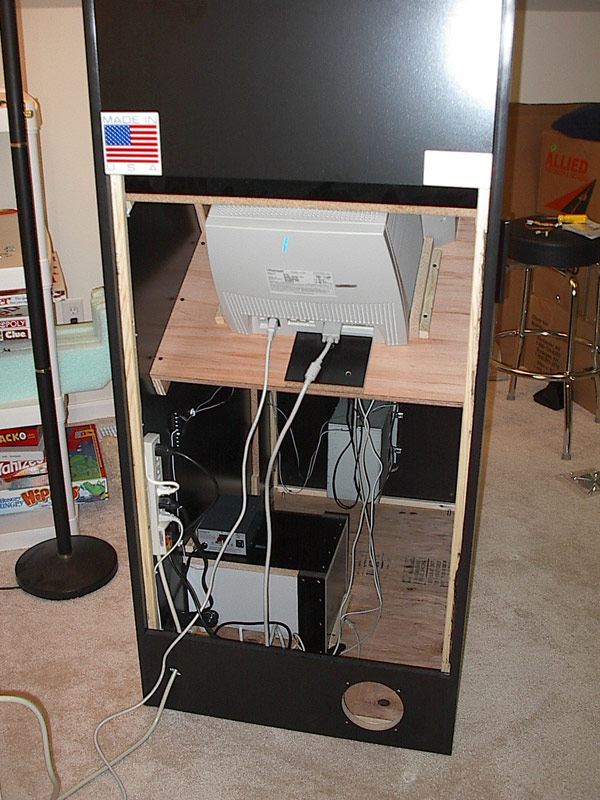
With
all 4 fans powered up, and running at 6V each, it moved the air
nice and quiet! I also noticed that the 25 cent slots had light
bulbs, but there were no wires to power them. Piece of cake, I simply
ran 4 more wires from my 12V strip and we were in business!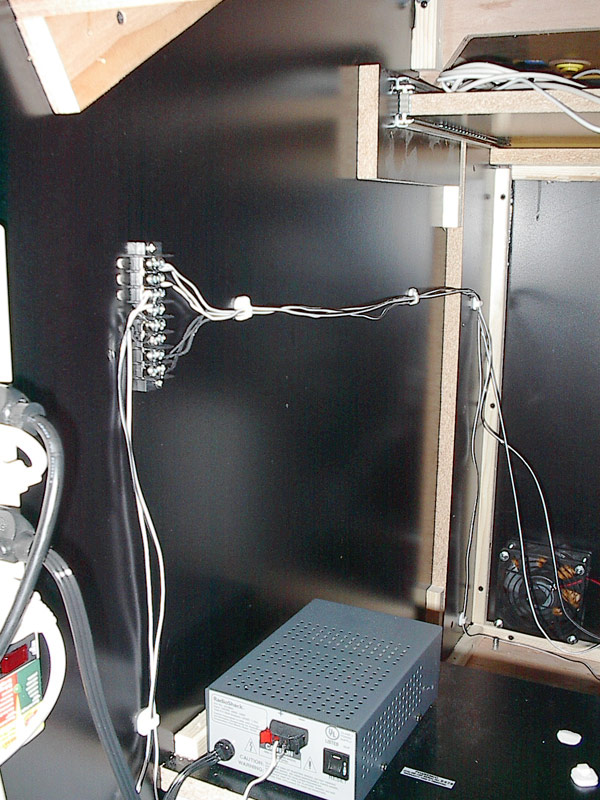
While I was still in the drilling mood, I drilled a finger hole
for the power strip. This allowed me to leave the cabinet back on
all the time: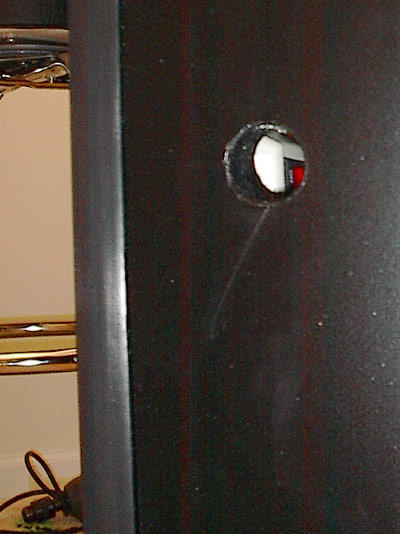
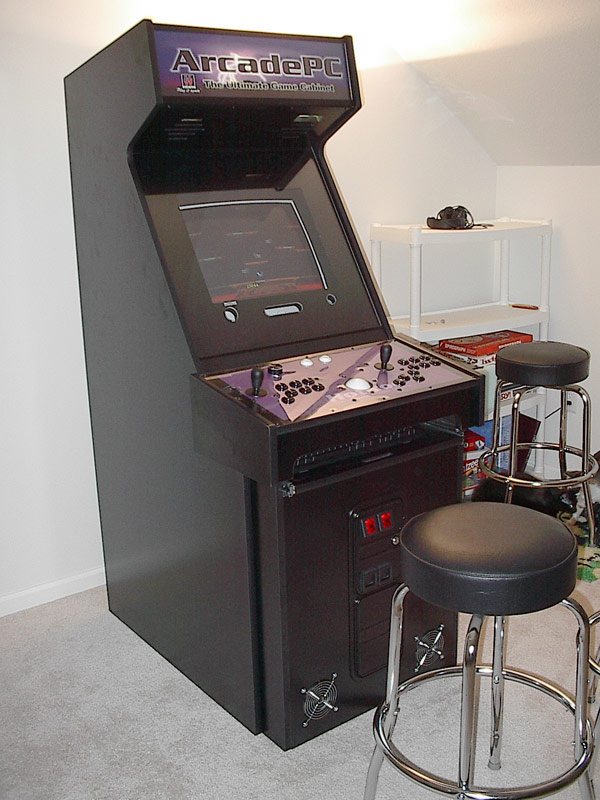
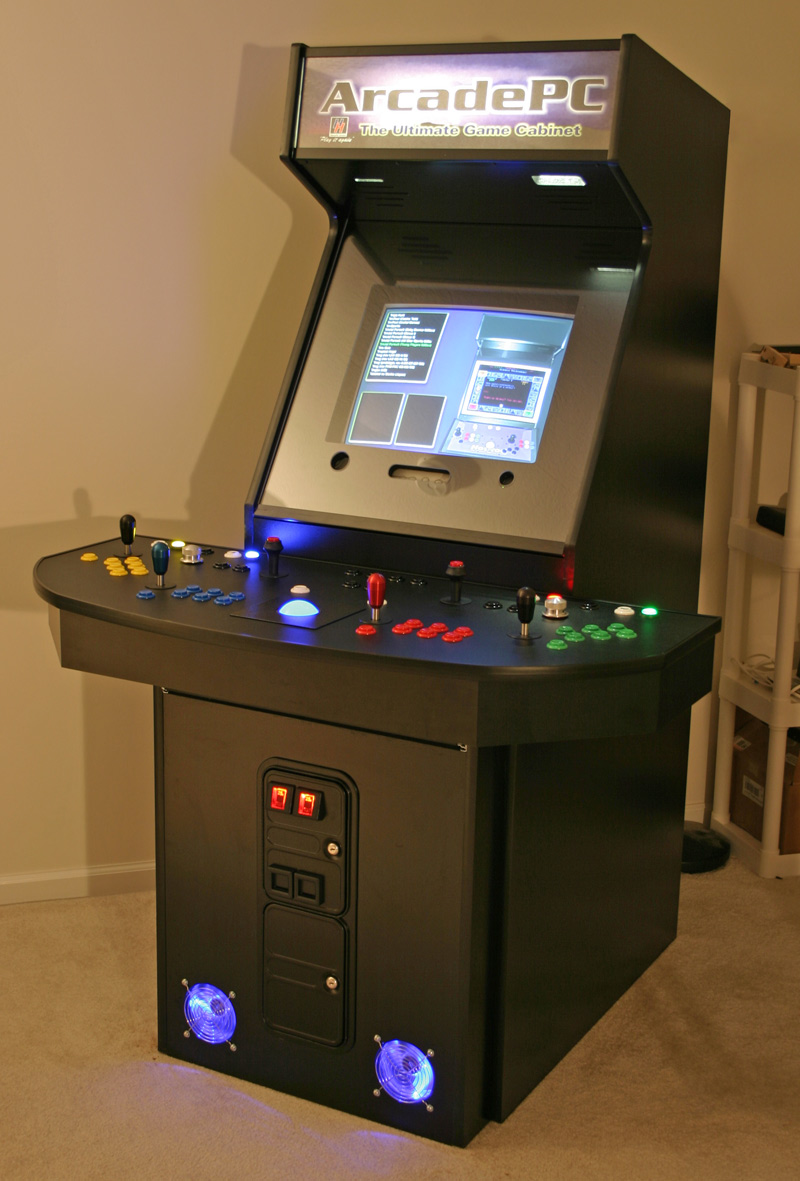
Here is the end result:

Years later....My next modification was to change out the control
panel to a 4 player control panel. In essence, I'm changing
from ArcadePC control
panel
compatability to SlikStik.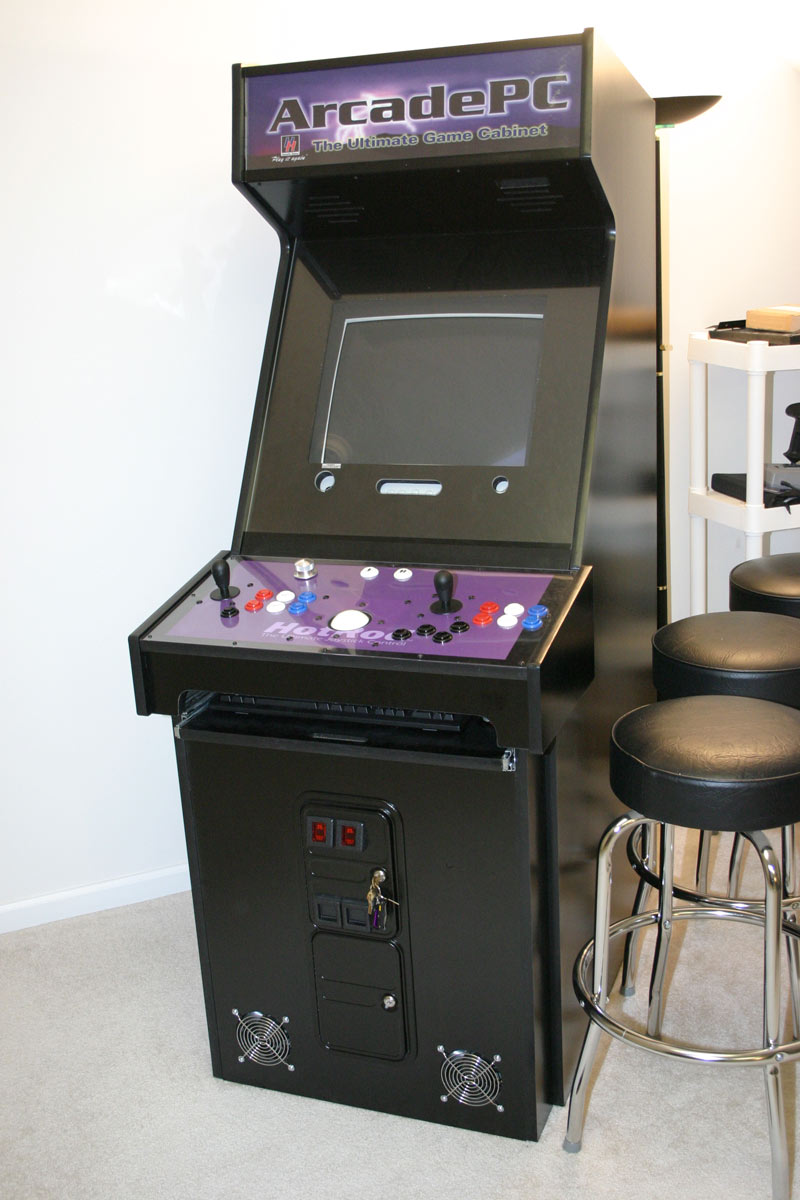
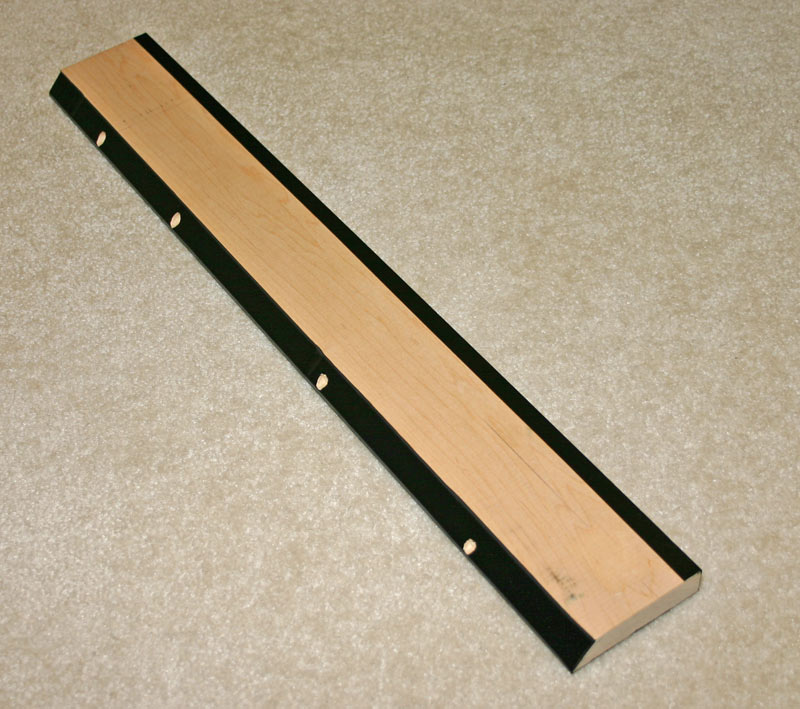
I received a customized quad blank from SlikStik:
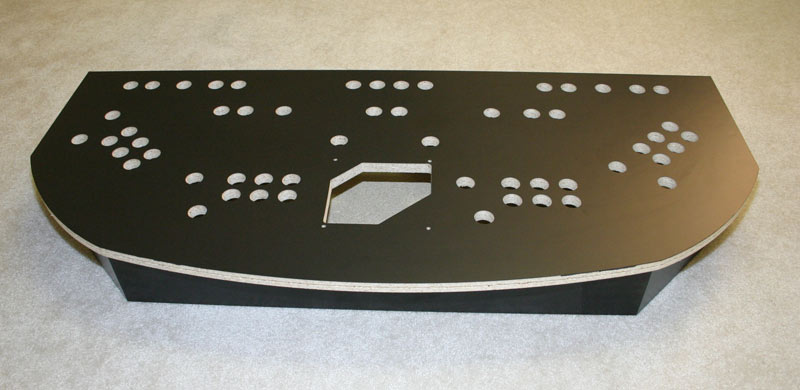
I then removed the t-molding and added some textured
vinyl from partsexpress.com: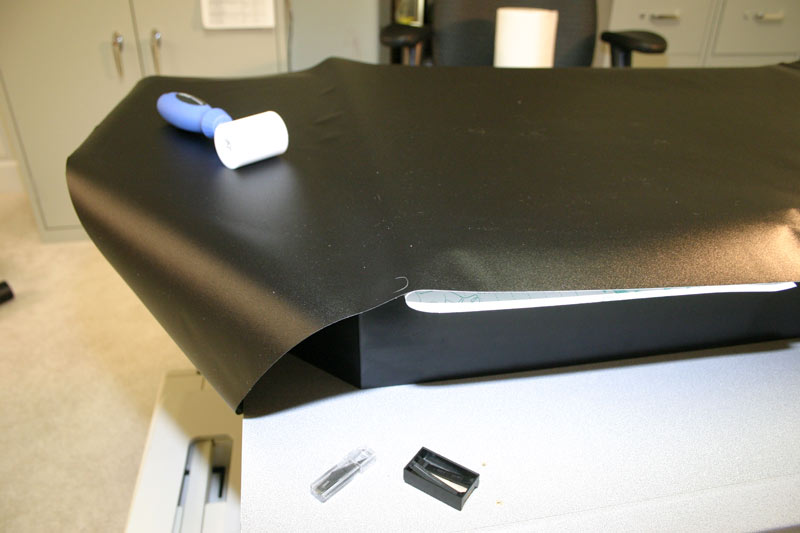
I then added some new t-molding with lip from t-molding.com.
The ArcadePC control panel comes easily by removing 4 bolts: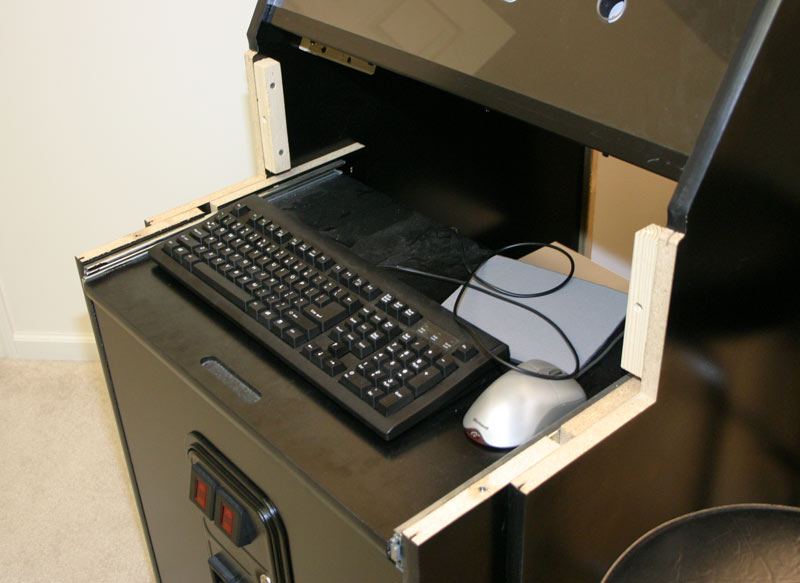
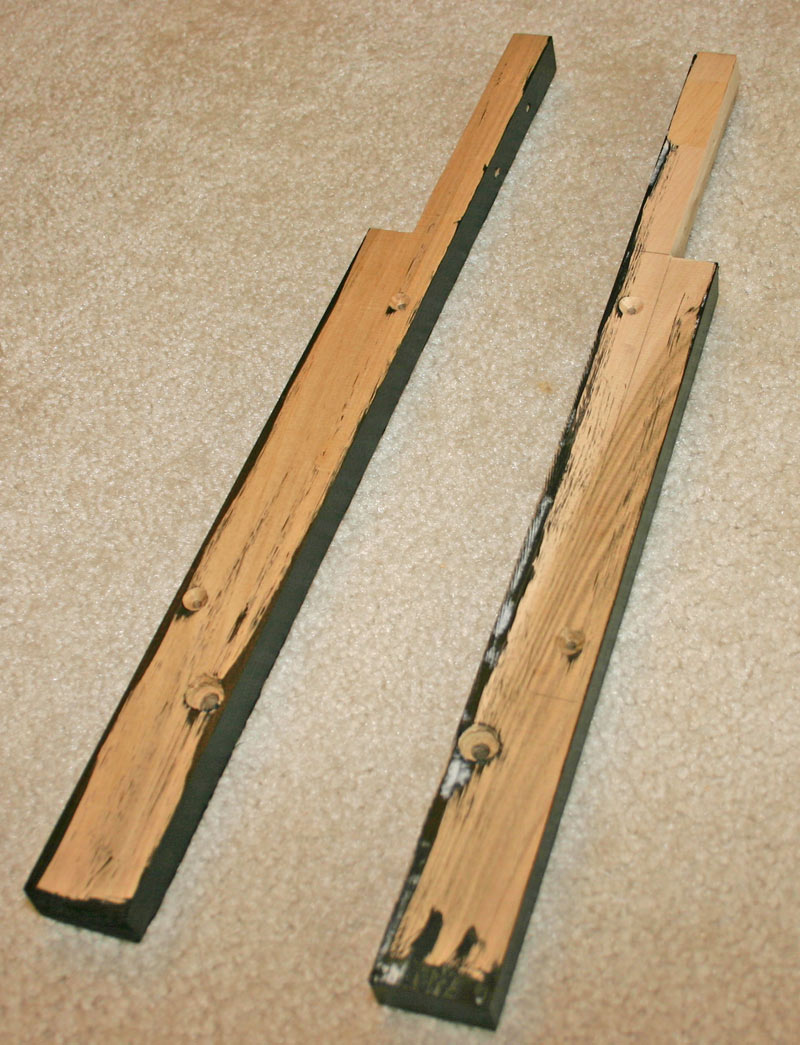
But the scary part is cutting a notch out of the main cabinet sides so that the new control panel will fit better and eliminate the gap.
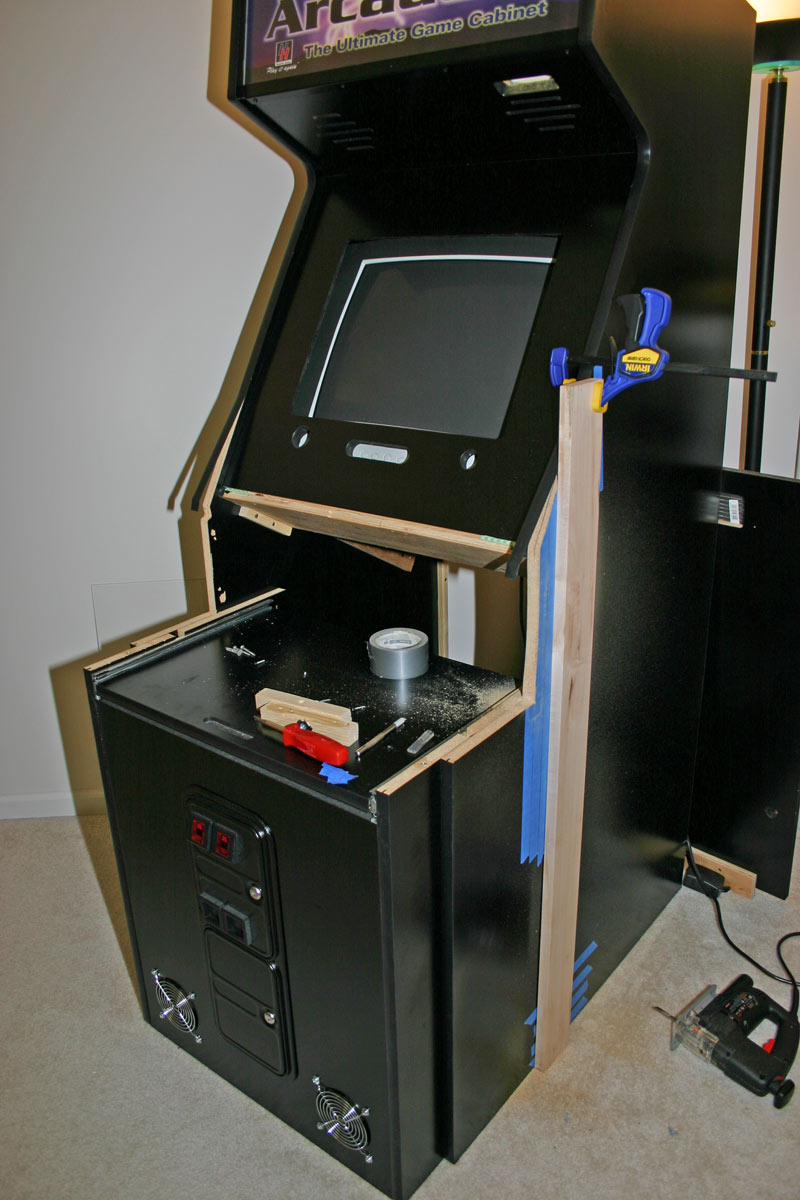

A router is definitely the right tool for the job. The cuts are now done properly. Router was also used to cut the slots for the t-molding.


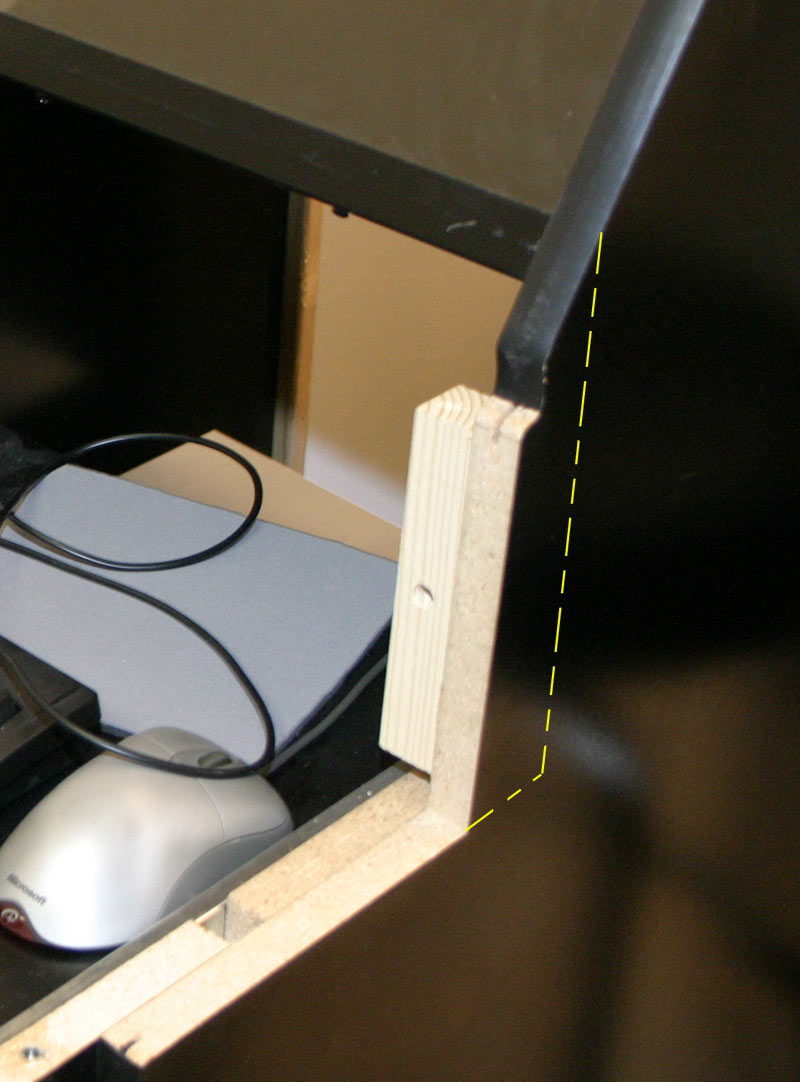
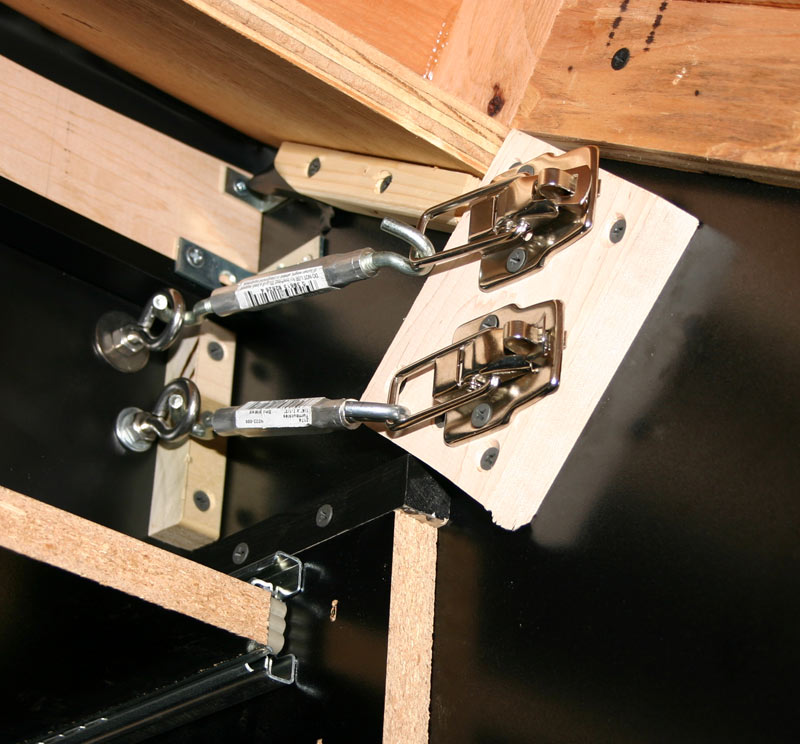
I made some custom wood brackets out of maple. The 3rd picture shows my gap filler peice. I use this in between the control panel and bottom of the monitor. It took many hours to come up with this mounting solution, but the end result will be an arcade machine with a simple 90 degree mount for the control panel.
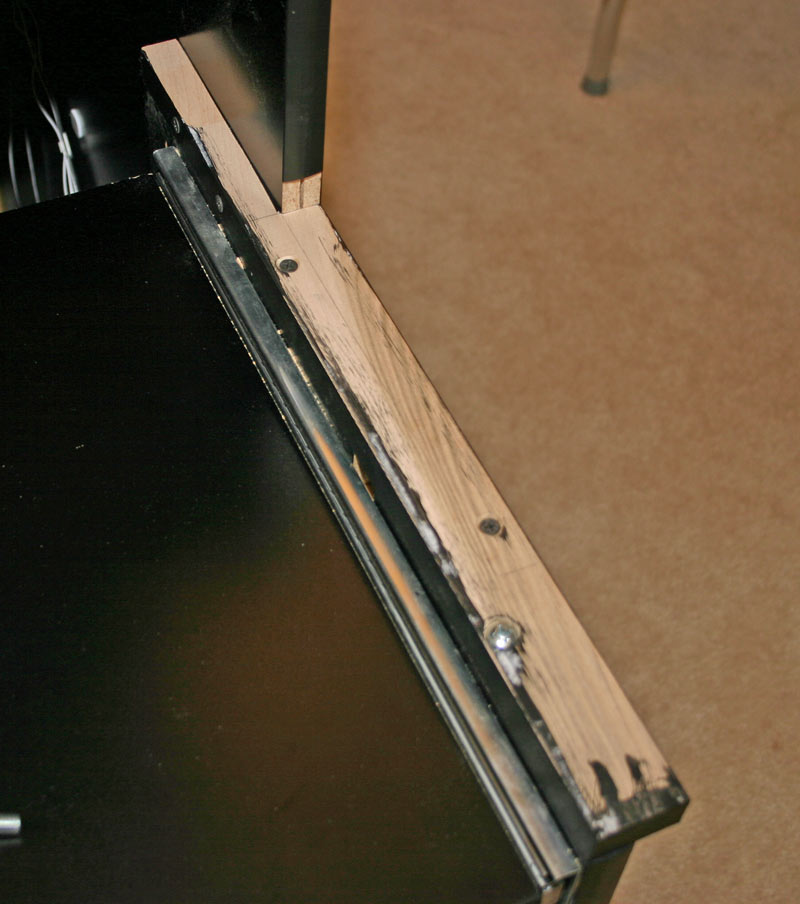

I modified the control panel to mount to the arcade cabinet, not the other way around. 4 draw clamps and turnbuckles are used to pull it in nice and tight. Additionally, the wood blocks prevent the control panel from sliding left to right and up and down. I used some electrical tape on one of them to fine tune the tightness of the fit.

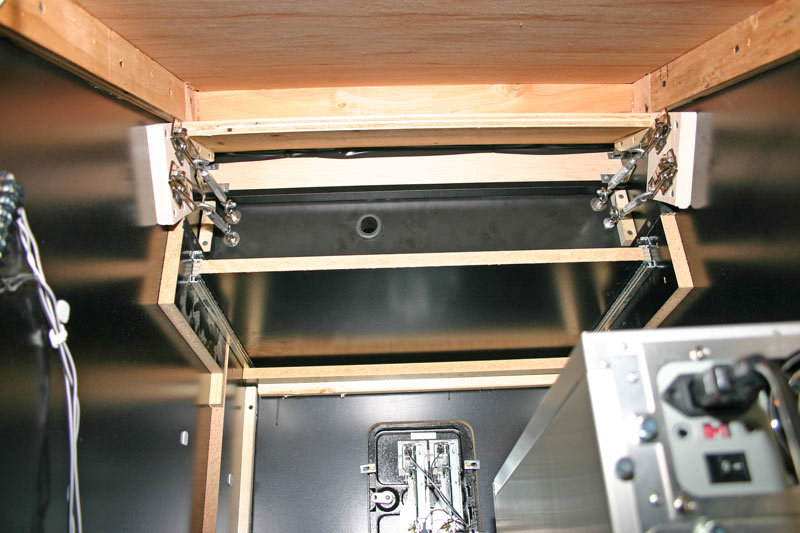
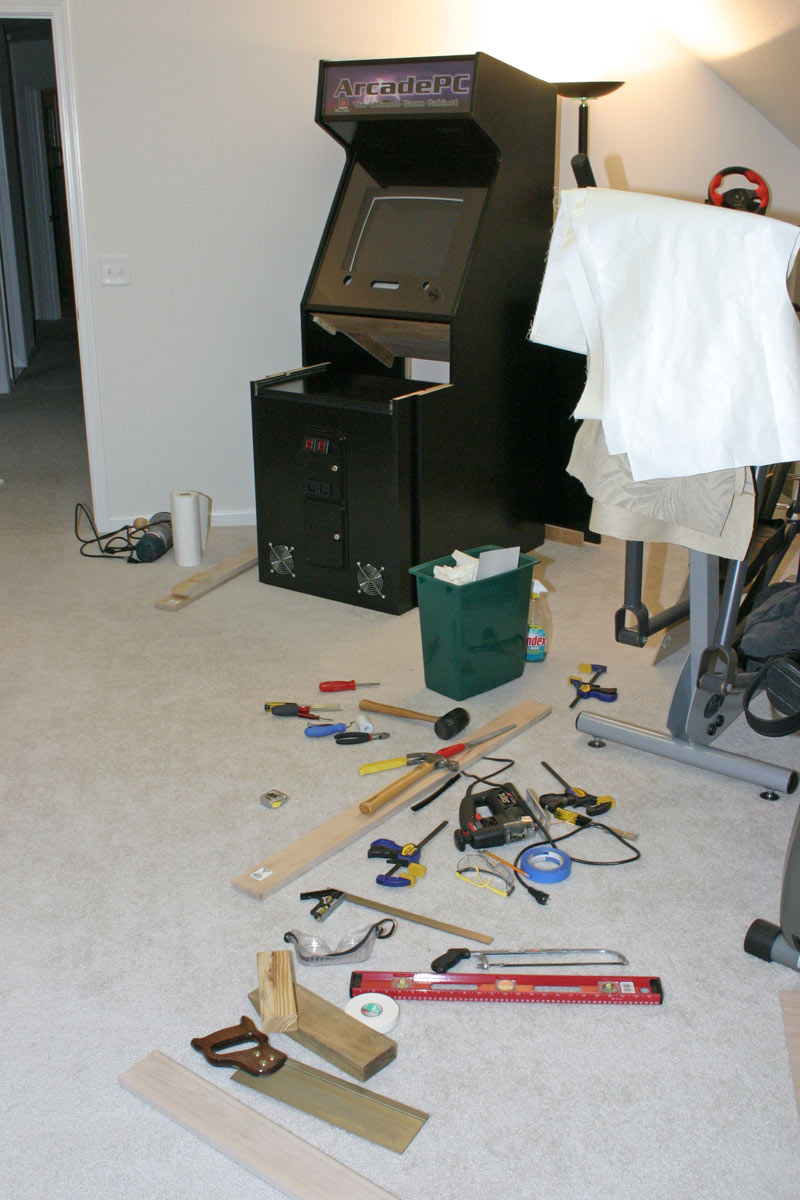
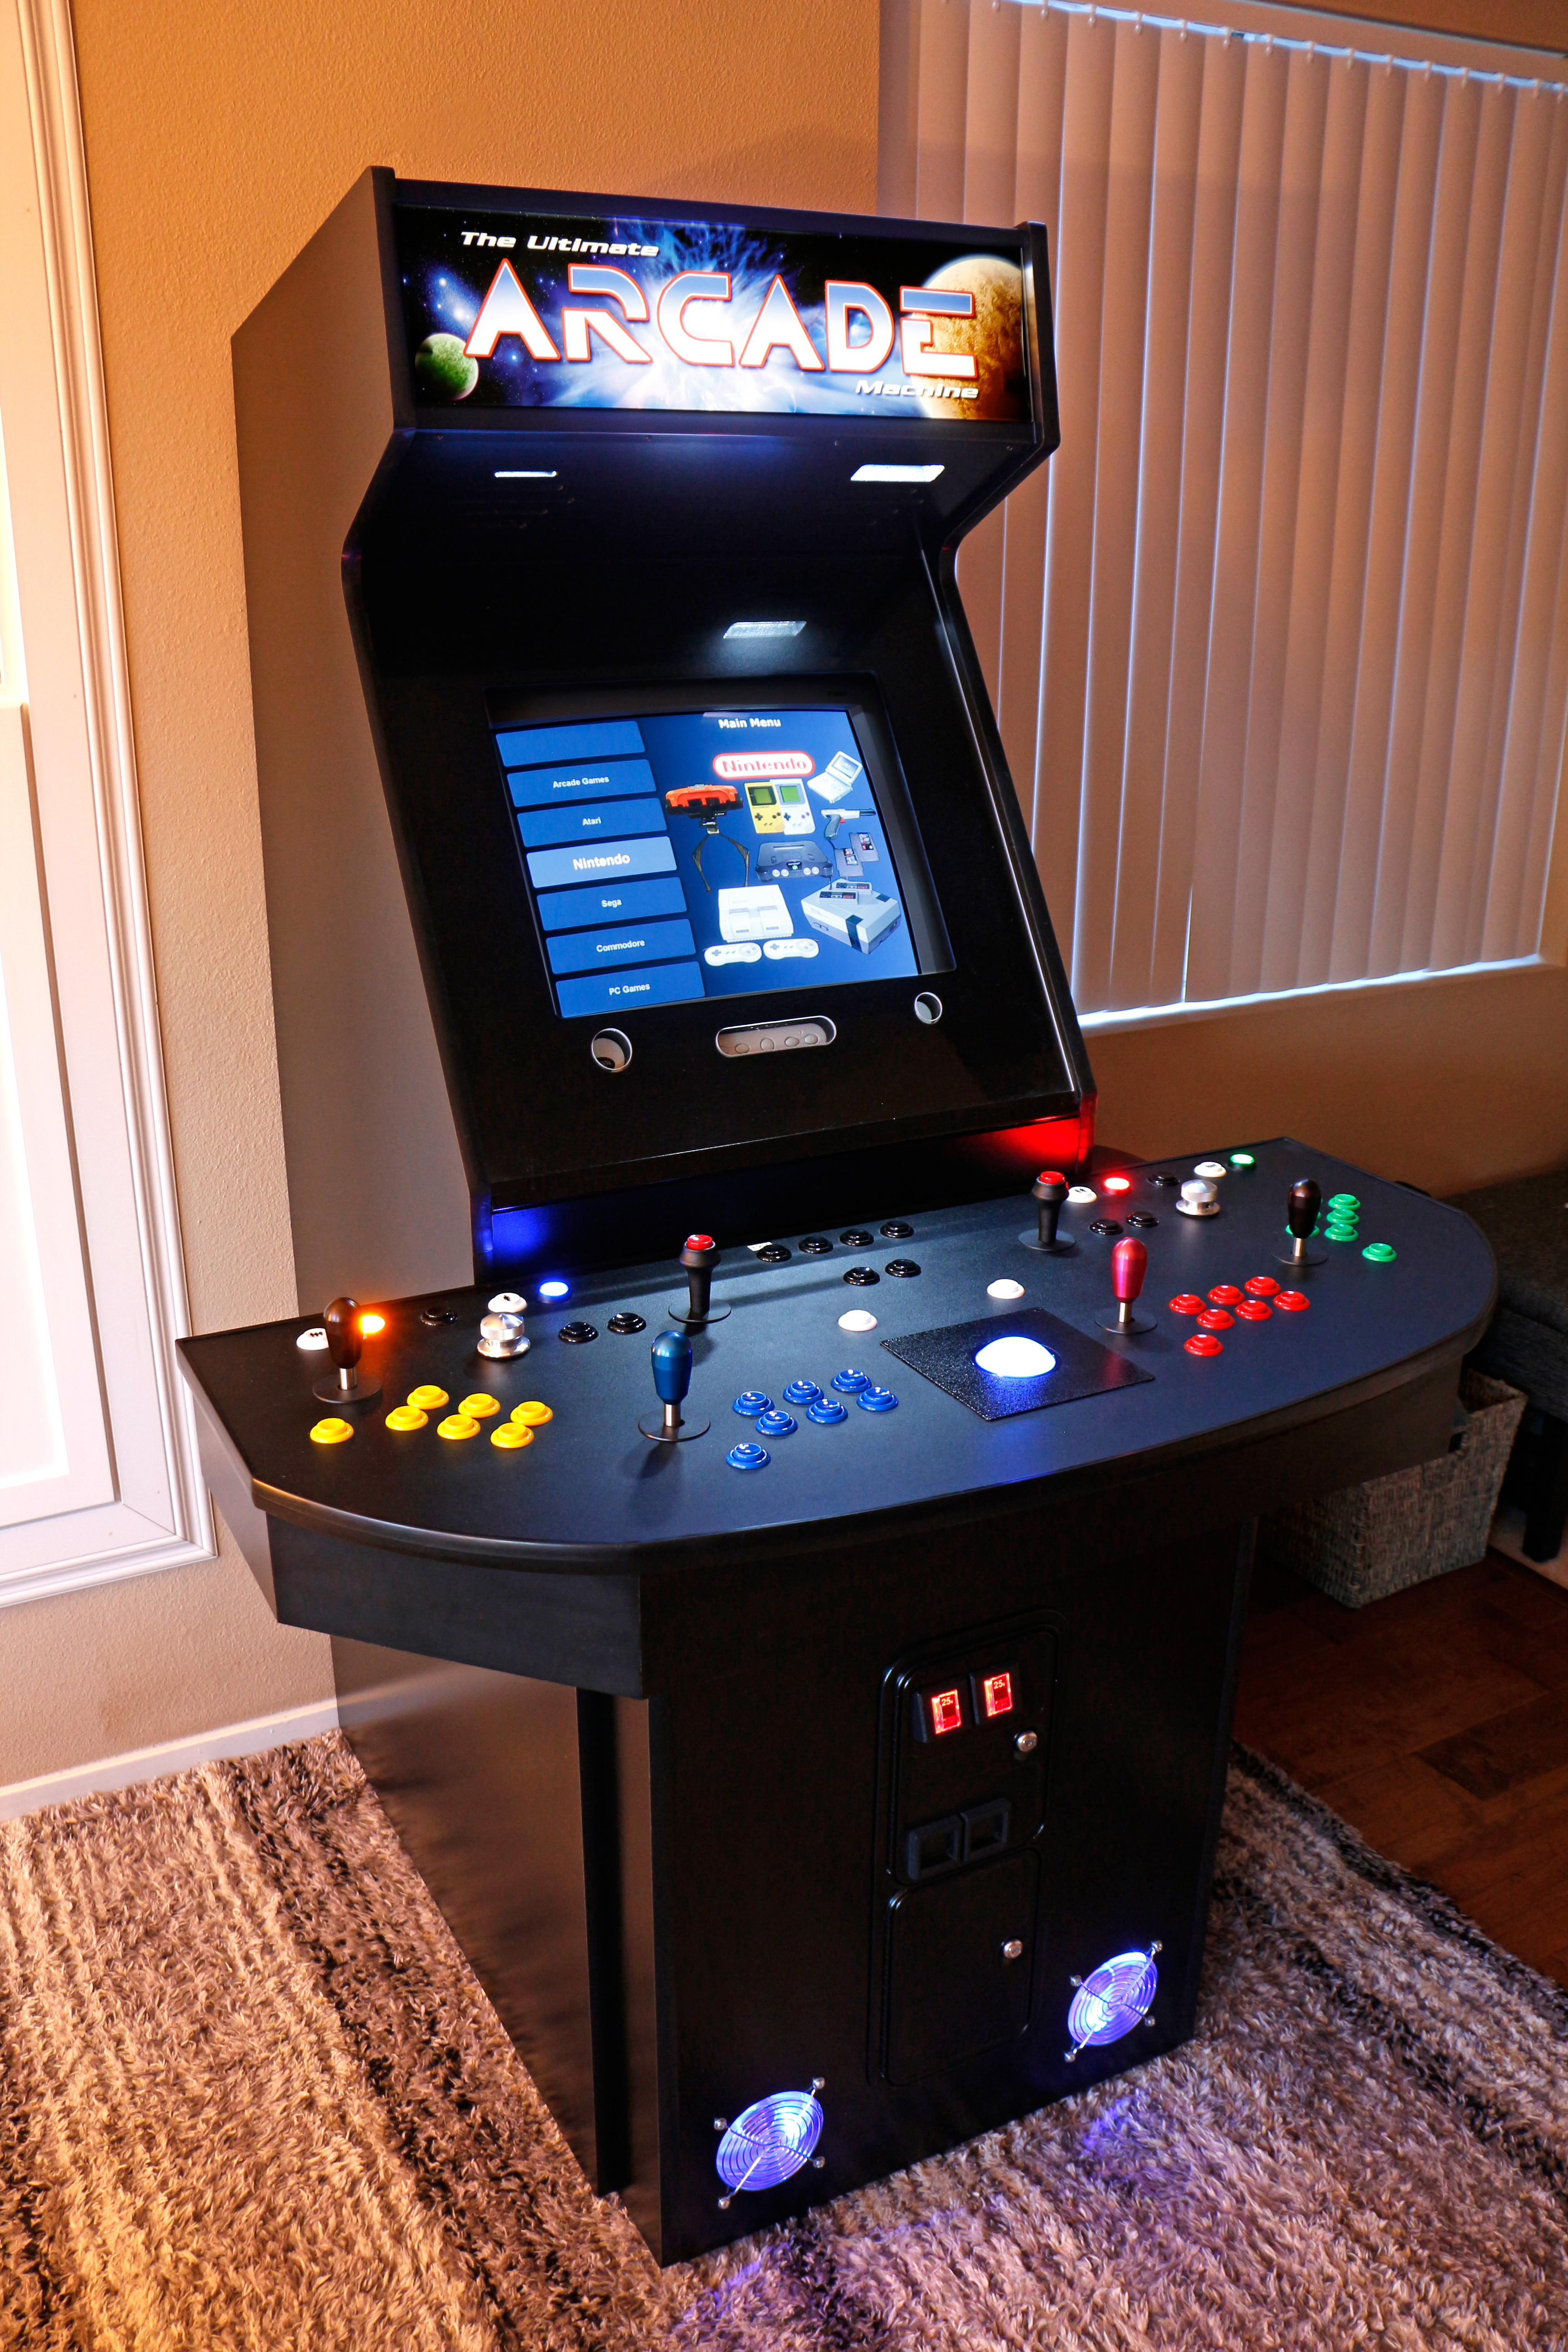
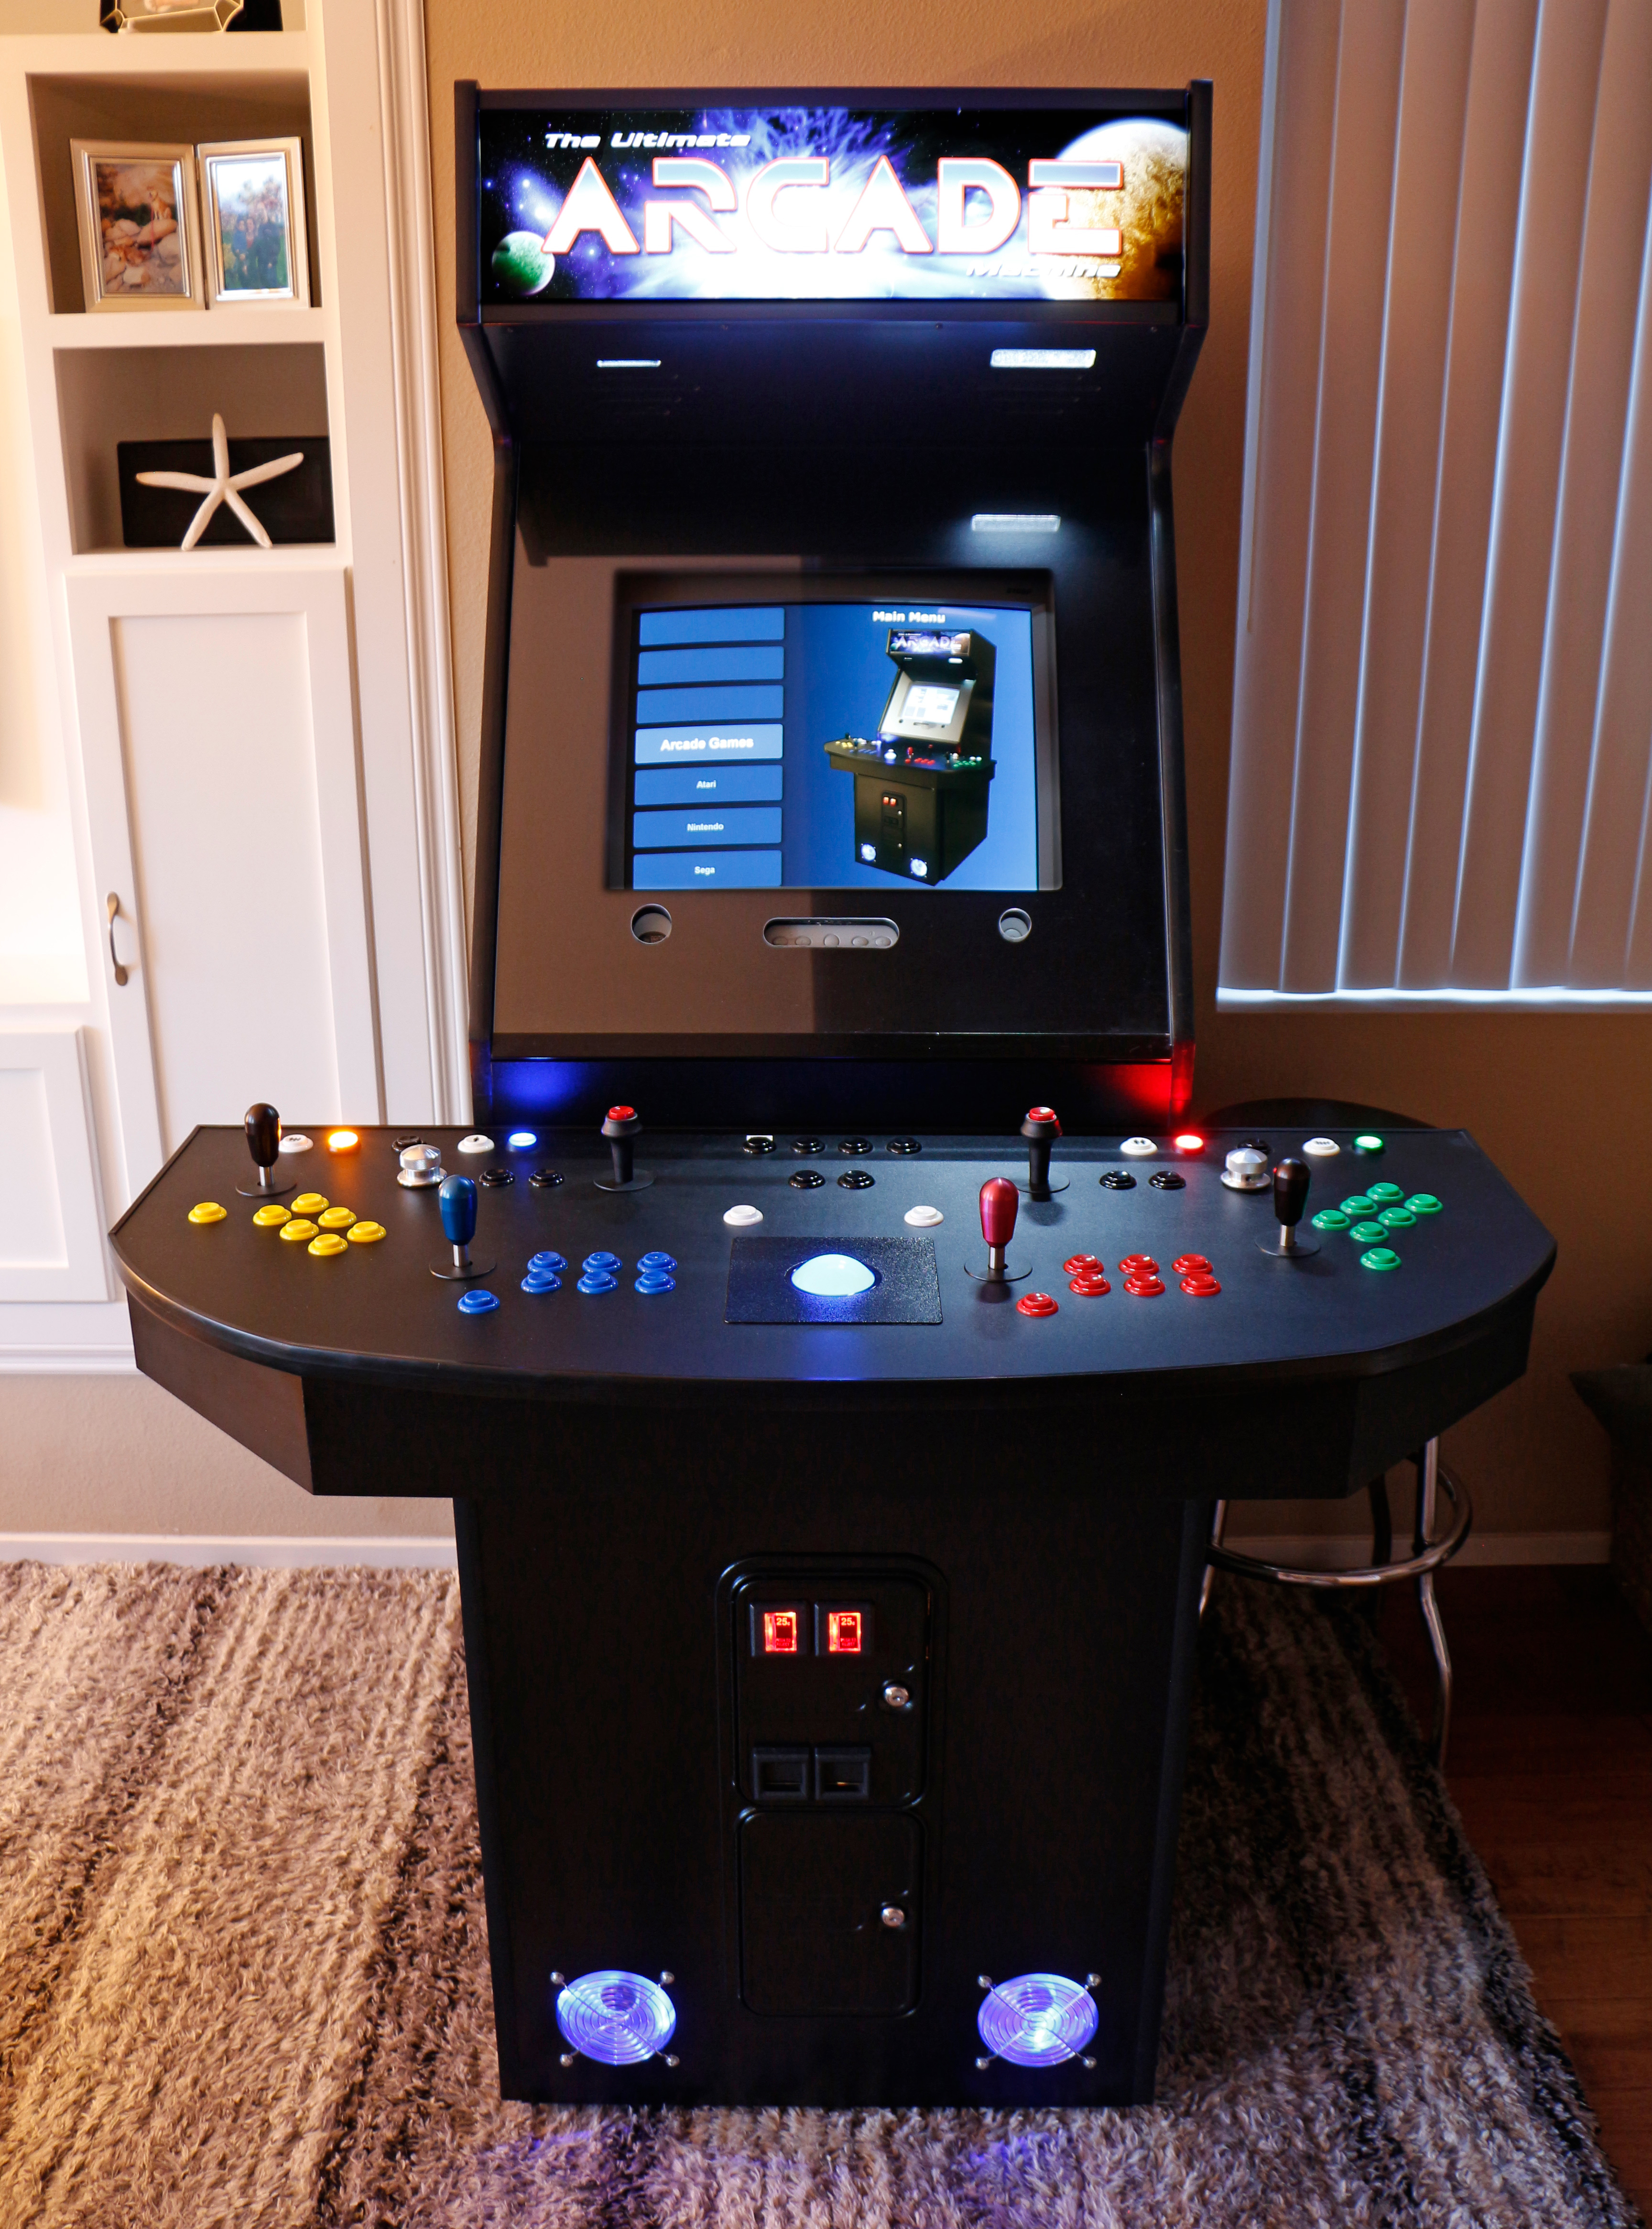
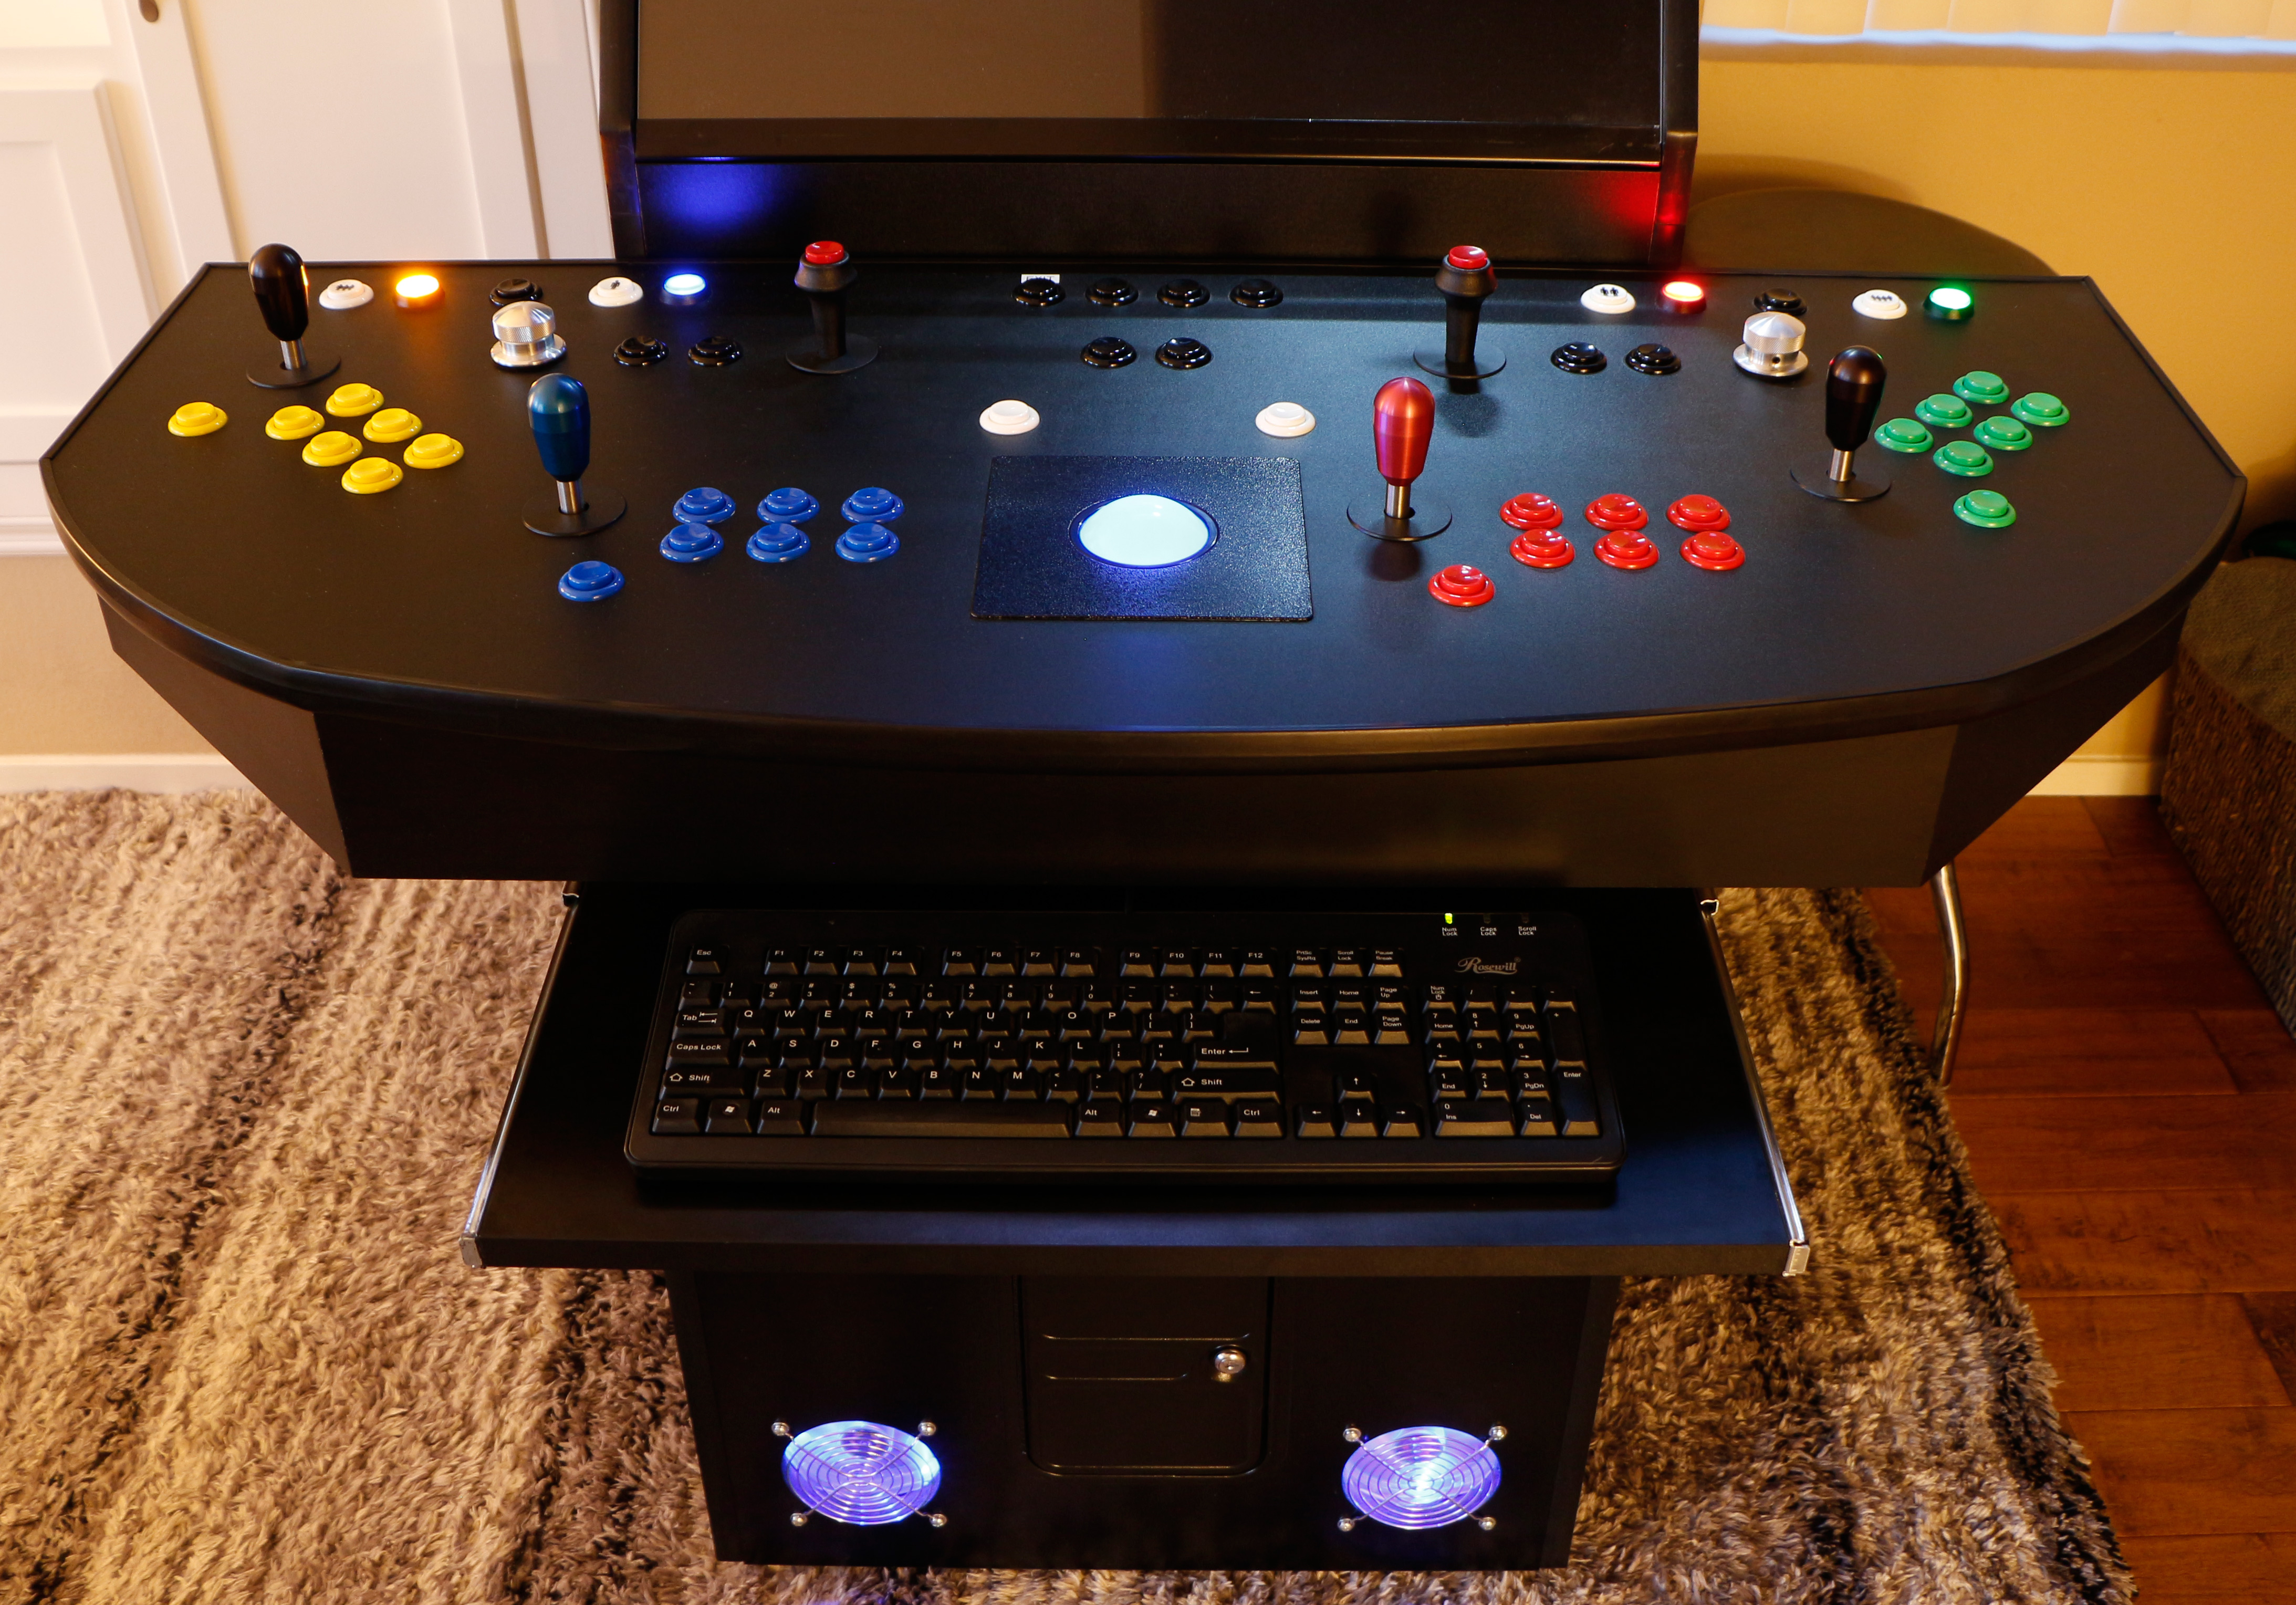
All the parts finally arrived and I spent hours planning, drilling, screwing, and wiring it up. 6 joysticks, 2 spinners, one trackball, LED lighting, hundreds of quick release connectors, lots of zip ties, hundreds of feet of wiring.
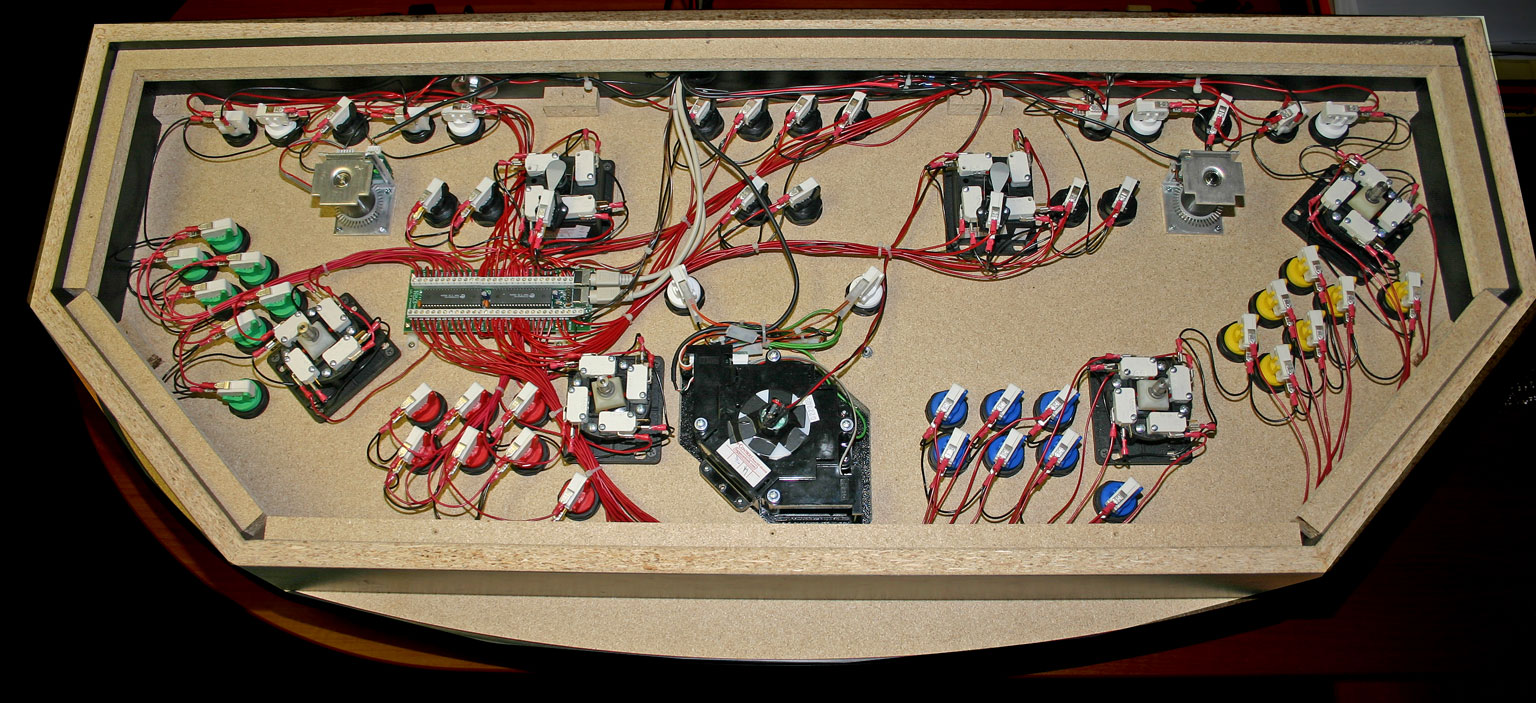
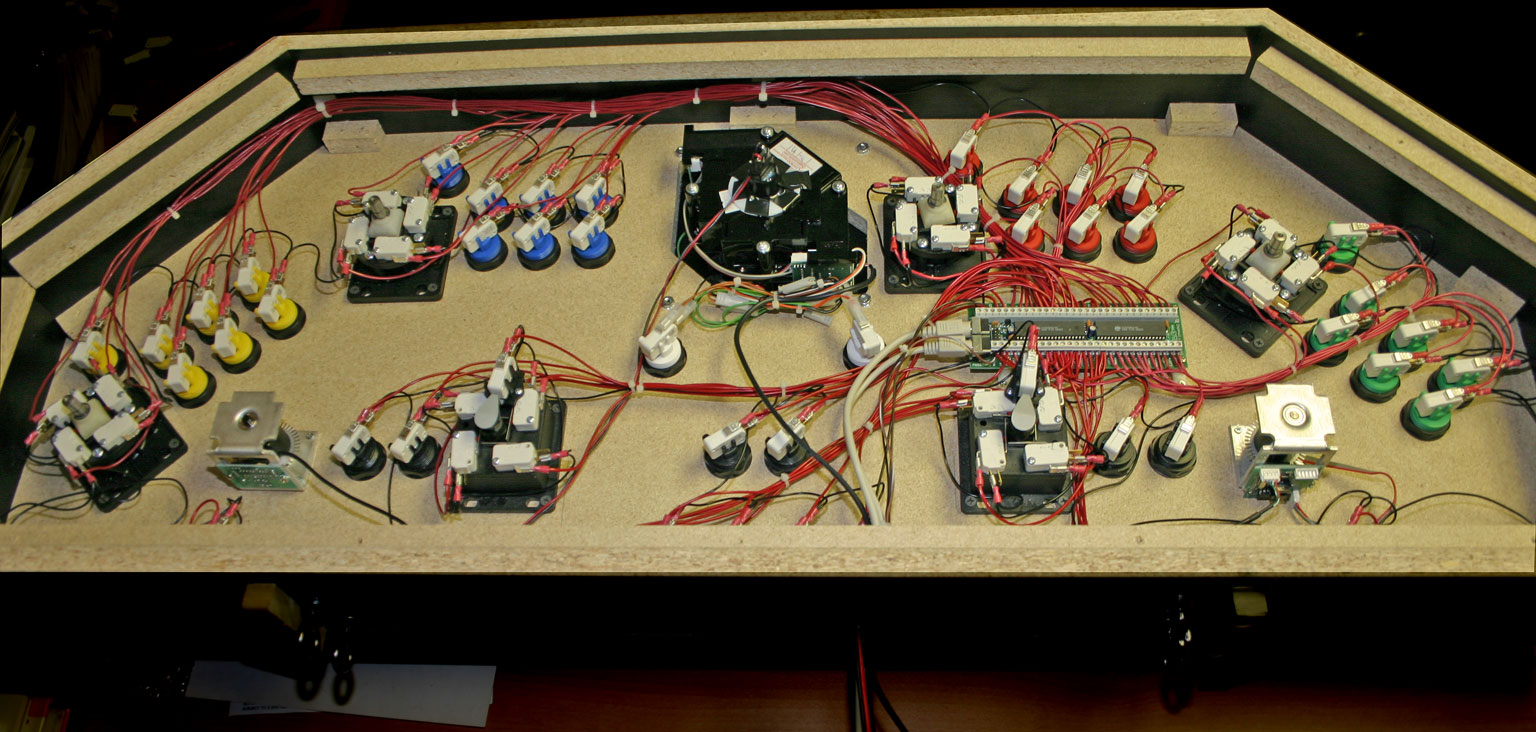
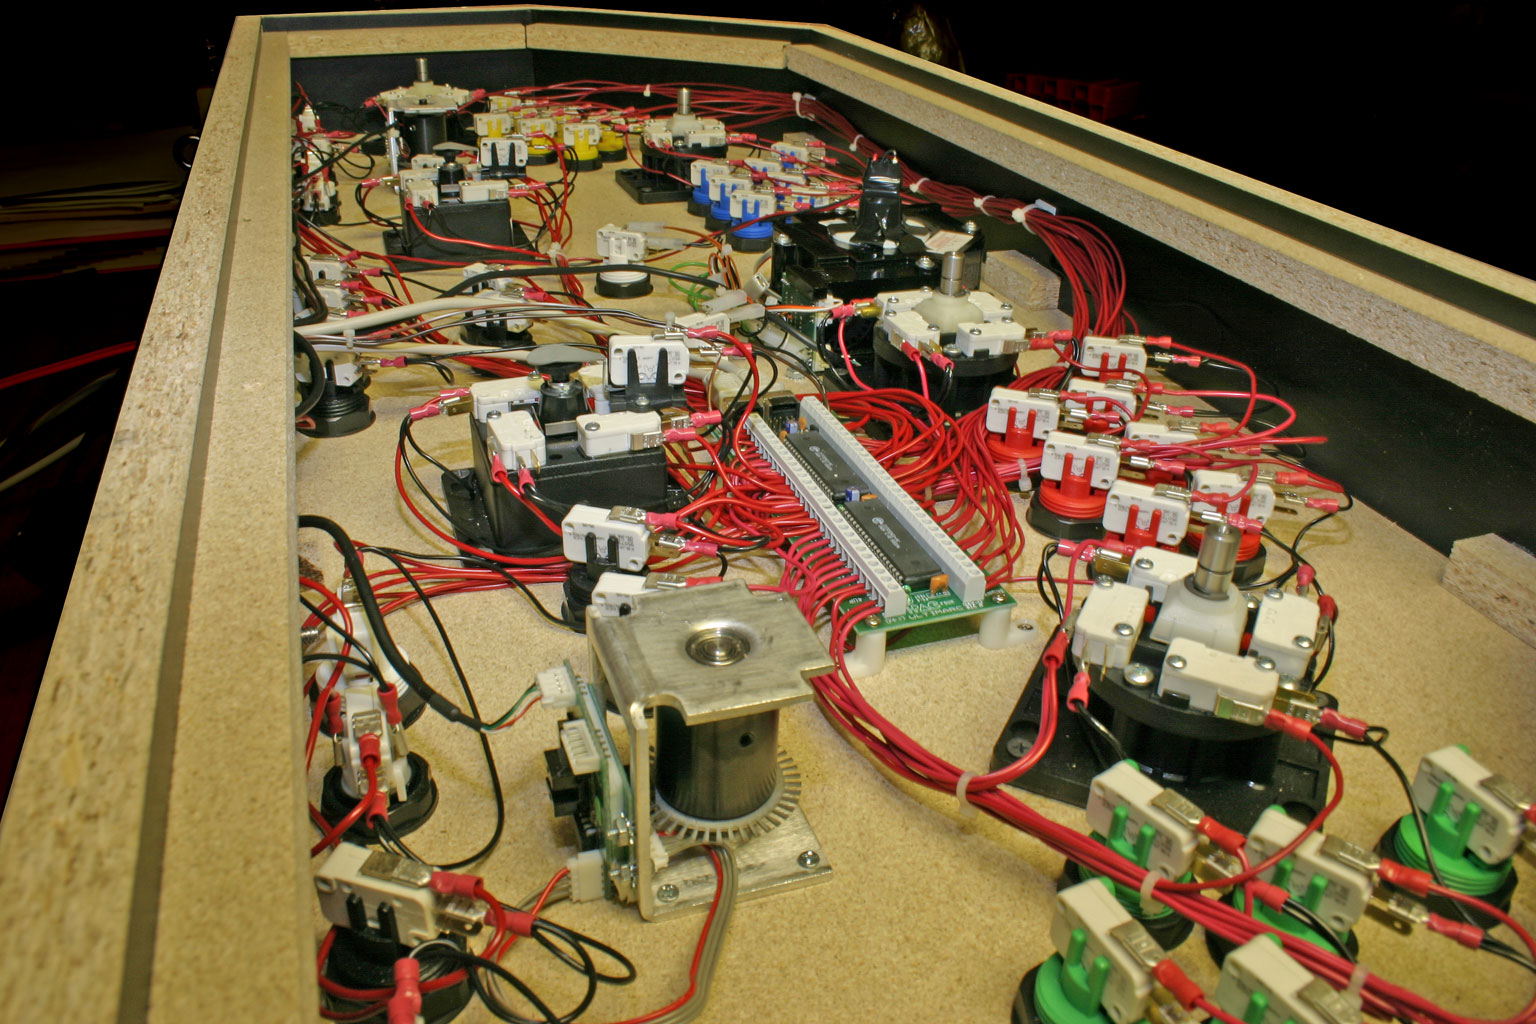
Ahhh... MUCH better :)
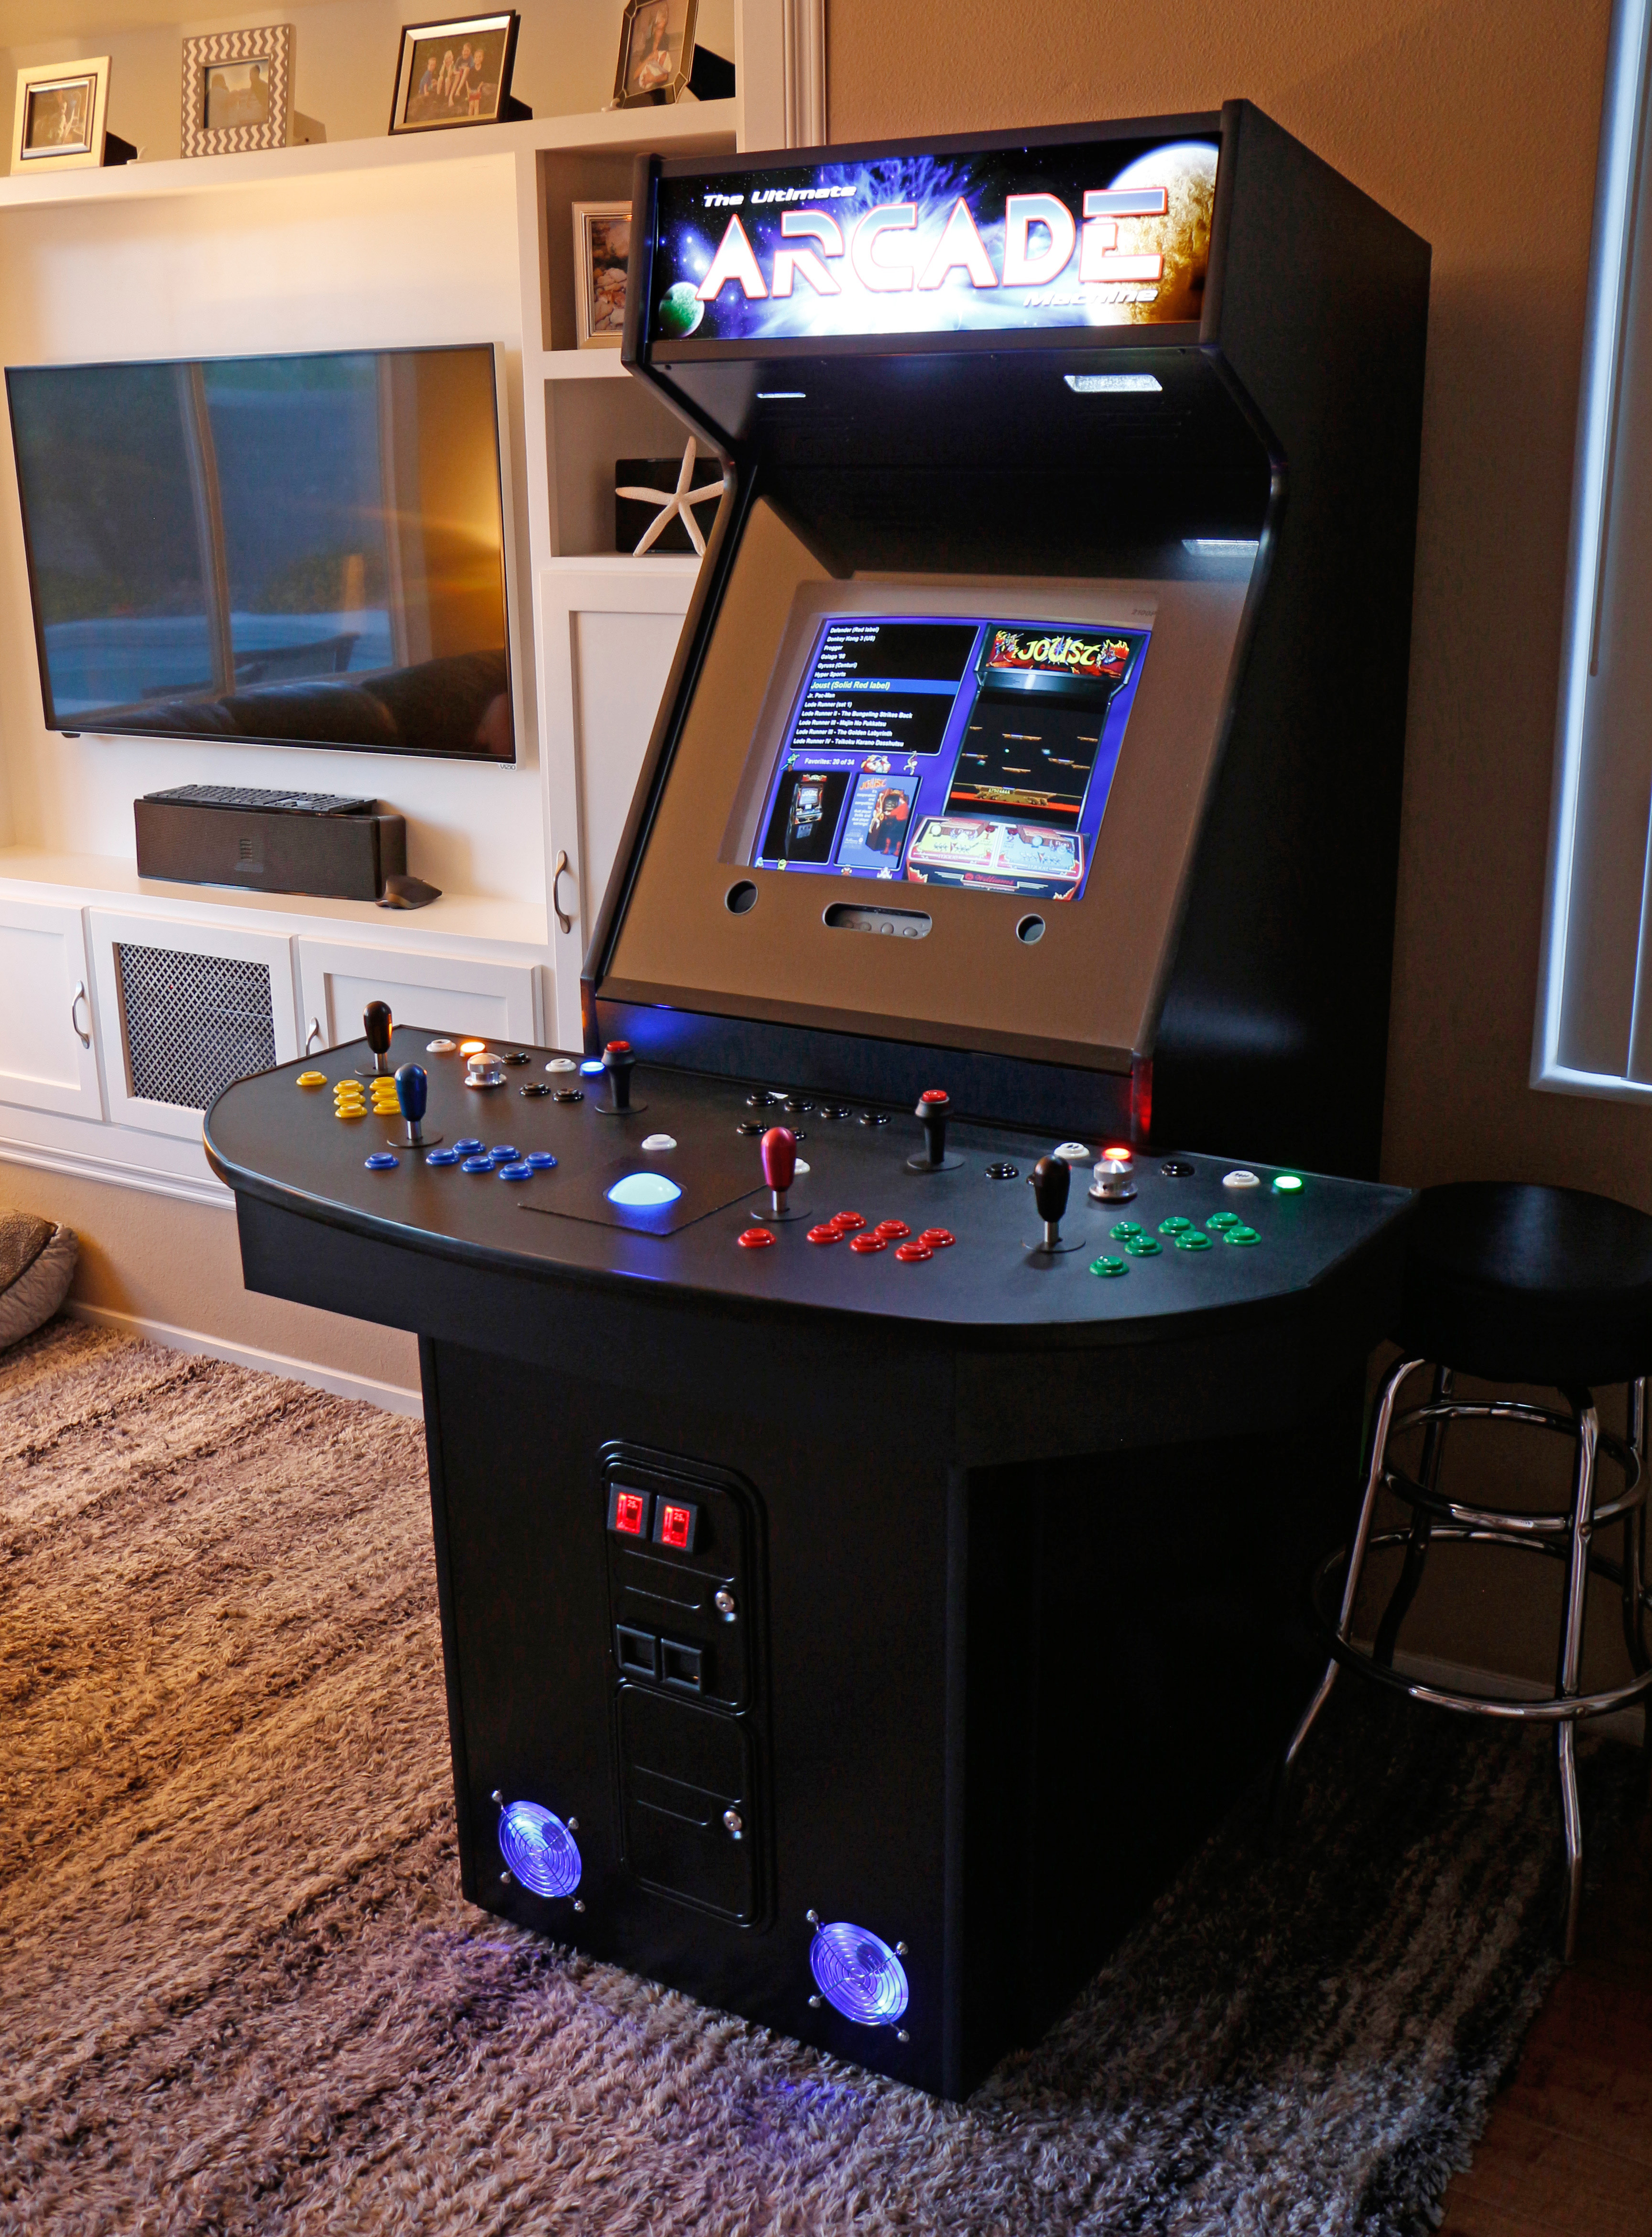
I have now built a much better 4-player arcade control panel than this. Check it out. It's so much better!